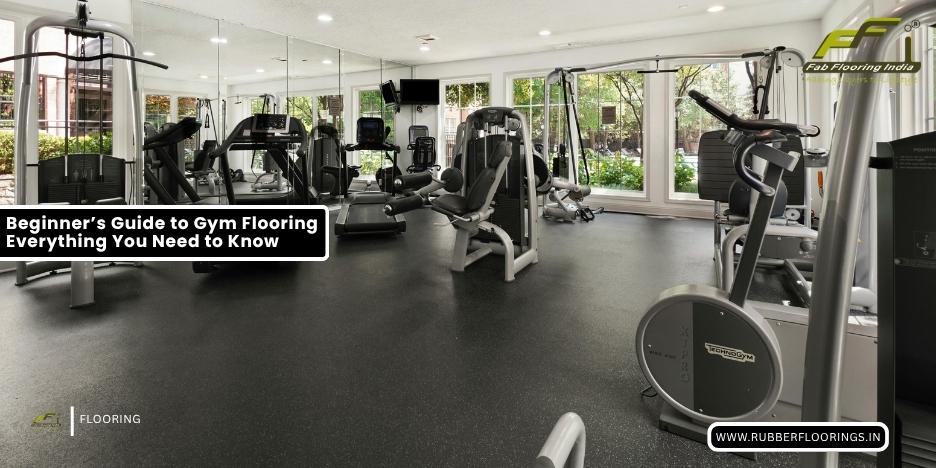
Beginner’s Guide to Gym Flooring: Everything You Need to Know Before Buying
Setting up a gym—whether it’s a home workout space, a commercial fitness center, or a studio—is exciting. Most people focus on equipment like treadmills, dumbbells, and machines. However, one of the most important decisions you’ll make is often overlooked: gym flooring.
Gym flooring is not just about aesthetics. It plays a critical role in safety, durability, performance, and long-term cost savings. Choosing the wrong flooring can lead to injuries, damaged equipment, noise issues, and expensive repairs.
If you’re new to gym setup, this complete beginner’s guide will help you understand everything you need to know before buying gym flooring.
Why Gym Flooring Is Important
Before diving into types and materials, it’s important to understand why gym flooring matters.
Gym flooring provides:
- Shock absorption for workouts
- Protection for subfloors
- Safety from slips and injuries
- Noise reduction
- Stability for equipment
Without proper flooring, even the best gym setup can become unsafe and inefficient.
Step 1: Understand Your Gym Type
The first step in choosing the right flooring is identifying your gym type.
Different gyms have different requirements.
Home Gym
- Light to moderate usage
- Limited equipment
- Budget-friendly solutions
Commercial Gym
- High foot traffic
- Heavy equipment
- Requires durable flooring
CrossFit or Strength Training Gym
- Heavy lifting
- High-impact workouts
- Needs thick, heavy-duty flooring
Yoga or Studio Gym
- Focus on comfort
- Low-impact activities
Your gym type determines the flooring material and thickness.
Step 2: Know the Main Types of Gym Flooring
There are several gym flooring options available. Each has its own advantages.
Rubber Flooring (Most Recommended)
Rubber flooring is the most popular choice for gyms.
Benefits:
- Excellent shock absorption
- Anti-slip surface
- High durability
- Noise reduction
- Long lifespan
Best For:
- Commercial gyms
- Home gyms
- Weightlifting areas
EVA Foam Mats
EVA foam mats are lightweight and soft.
Benefits:
- Comfortable
- Easy to install
- Budget-friendly
Limitations:
- Not suitable for heavy weights
- Less durable
PVC / Vinyl Flooring
Used in some fitness studios.
Benefits:
- Smooth finish
- Easy maintenance
Limitations:
- Less shock absorption
Artificial Turf
Used in functional training areas.
Benefits:
- Ideal for sled training
- Premium look
Step 3: Choose the Right Thickness
Thickness is one of the most important factors.
Recommended Thickness Guide
- 6mm–8mm → Light workouts
- 8mm–12mm → Home gyms
- 12mm–15mm → Strength training
- 15mm–25mm → Heavy lifting
- 25mm+ → CrossFit and professional gyms
Thicker flooring provides better protection—but only where needed.
Step 4: Consider Flooring Format
Gym flooring comes in different formats.
Rubber Rolls
- Best for large gyms
- Seamless appearance
Rubber Tiles
- Easy to install
- Easy to replace
Interlocking Mats
- Ideal for beginners
- No adhesive needed
Choose based on your gym size and installation preference.
Step 5: Focus on Safety Features
Safety is a top priority.
Look for:
Anti-Slip Surface
Prevents slipping during workouts.
Shock Absorption
Reduces stress on joints.
Stability
Ensures equipment stays in place.
Rubber flooring provides the best safety features.
Step 6: Think About Durability
Gym flooring should last for years.
High-quality rubber flooring can last:
10–15 years or more
Durable flooring reduces replacement costs.
Step 7: Plan Your Budget
Gym flooring cost varies depending on:
- Material
- Thickness
- Area size
- Installation
Budget Tips
- Don’t choose the cheapest option
- Focus on long-term value
- Use different thickness in different areas
Quality flooring saves money in the long run.
Step 8: Understand Installation
Installation affects performance.
DIY Installation
- Interlocking mats
- Small home gyms
Professional Installation
- Rubber rolls
- Large commercial gyms
Proper installation ensures durability.
Step 9: Maintenance and Cleaning
Good flooring is easy to maintain.
Basic Maintenance
- Sweep regularly
- Mop occasionally
- Avoid harsh chemicals
Rubber flooring requires minimal maintenance.
Step 10: Avoid Common Mistakes
Common Beginner Mistakes
- Choosing thin flooring for heavy workouts
- Using EVA mats for weightlifting
- Ignoring flooring quality
- Not planning gym zones
Avoid these to save money and prevent issues.
Bonus Tip: Use Zoned Flooring
Professional gyms use different flooring for different areas.
Example Layout
- Cardio → 8mm
- Strength → 12mm
- Deadlift → 20mm+
This improves performance and reduces cost.
How to Choose the Right Supplier
Choosing a reliable supplier is important.
Look for:
- High-quality materials
- Proper thickness options
- Experience in gym flooring
Companies like fabflooringsindia.com and fabfloorings.ae offer complete gym flooring solutions for different needs.
Final Checklist Before Buying
Before purchasing, ask yourself:
- What type of gym am I setting up?
- What kind of workouts will I do?
- What thickness do I need?
- What is my budget?
- Is the flooring durable and safe?
Answering these ensures the right decision.
Final Verdict
Gym flooring is the foundation of any gym setup. It affects safety, performance, durability, and cost.
Rubber flooring is the best overall choice for most gyms because it provides the perfect balance of strength, safety, and longevity.
Conclusion
Choosing the right gym flooring may seem confusing at first, but with the right knowledge, it becomes simple. By understanding your gym needs, selecting the right material, and planning properly, you can create a safe and efficient workout space.
A good gym floor doesn’t just support your workouts—it protects your body, equipment, and investment.