How to Install Gym Rubber Flooring Properly? A Complete Step-by-Step Guide
Installing gym rubber flooring correctly is essential for creating a safe, durable, and professional workout environment. Whether you are setting up a commercial gym, fitness studio, CrossFit center, or home gym, proper installation ensures that the flooring performs well for years without shifting, tearing, or wearing out prematurely.
Rubber gym flooring is widely used because it provides shock absorption, protects subfloors from heavy weights, reduces noise, and improves safety. However, these benefits depend heavily on how the flooring is installed. Poor installation can lead to uneven surfaces, gaps between mats, moisture problems, and reduced durability.
This guide explains everything you need to know about installing gym rubber flooring properly—from preparing the surface to the final finishing touches.
Why Proper Installation of Gym Rubber Flooring Matters
Many gym owners underestimate the importance of installation. They focus on selecting high-quality rubber flooring but overlook preparation and installation techniques.
Proper installation helps achieve several important benefits:
• Prevents flooring movement during workouts
• Protects the underlying floor surface
• Improves shock absorption and safety
• Reduces noise and vibration
• Extends the lifespan of the flooring
When installed correctly, rubber gym flooring can last for many years with minimal maintenance.
Step 1: Choose the Right Type of Rubber Gym Flooring
Before installation begins, it is important to select the appropriate type of rubber flooring for your gym setup.
There are three common formats of rubber gym flooring:
Rubber Flooring Rolls
Rubber rolls are ideal for large commercial gyms. They provide a seamless appearance and fewer joints across the floor.
Best for:
• Commercial gyms
• Fitness centers
• Large training spaces
Rubber Tiles
Rubber tiles are modular and easy to install. They allow flexibility and easy replacement if a section gets damaged.
Best for:
• Medium-sized gyms
• Personal training studios
• Multipurpose fitness rooms
Interlocking Rubber Mats
Interlocking mats are popular for home gyms because they require minimal tools and can be installed quickly.
Best for:
• Home gyms
• Small workout areas
• Temporary setups
Selecting the correct flooring type simplifies installation and improves long-term performance.
Step 2: Measure the Gym Area Carefully
Accurate measurements are critical before installing rubber flooring.
Start by measuring:
• Length of the gym space
• Width of the gym space
• Areas with equipment or obstacles
Add 5–10% extra material to account for cutting and adjustments.
Proper planning ensures that flooring pieces fit correctly without excessive seams.
Step 3: Prepare the Subfloor Properly
Subfloor preparation is one of the most important steps in the installation process.
The subfloor should be:
• Clean
• Dry
• Level
• Free of debris
Common subfloor types include:
• Concrete floors
• Tile floors
• Wooden floors
Before installation:
• Remove dust and dirt
• Repair cracks or holes
• Ensure the surface is flat
If the surface is uneven, rubber flooring may not sit properly, which can affect durability and safety.
Step 4: Allow Rubber Flooring to Acclimate
Rubber flooring should be allowed to acclimate to the room temperature before installation.
Leave the rubber flooring inside the gym space for 24–48 hours before installation.
This allows the material to adjust to temperature and humidity conditions, reducing expansion or contraction later.
Step 5: Plan the Flooring Layout
Before applying adhesive or placing mats permanently, lay out the flooring pieces to test the arrangement.
This step helps you:
• Check alignment
• Identify cutting areas
• Minimize seams
• Ensure proper orientation
For rubber rolls, place them parallel to the longest wall.
For rubber tiles, start from one corner and work outward.
Planning the layout avoids mistakes during installation.
Step 6: Cut Rubber Flooring Precisely
In most installations, some cutting will be required to fit flooring around walls, pillars, or equipment.
Tools required include:
• Utility knife
• Straight edge or ruler
• Measuring tape
When cutting rubber flooring:
• Measure twice before cutting
• Use a sharp blade for clean edges
• Cut slowly and steadily
Precise cuts improve appearance and prevent gaps.
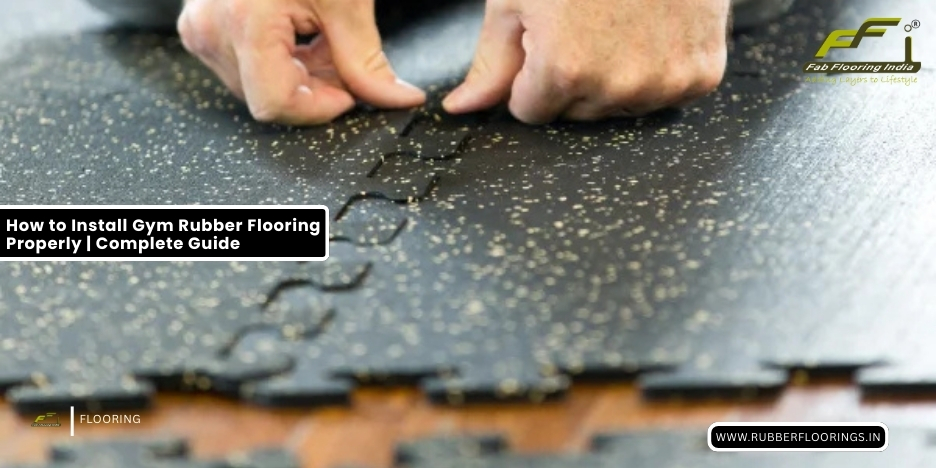
Step 7: Install Rubber Flooring Using Proper Methods
There are several installation methods depending on flooring type.